
How to Build a Mini Split Condenser Pad (DIY Step-by-Step)
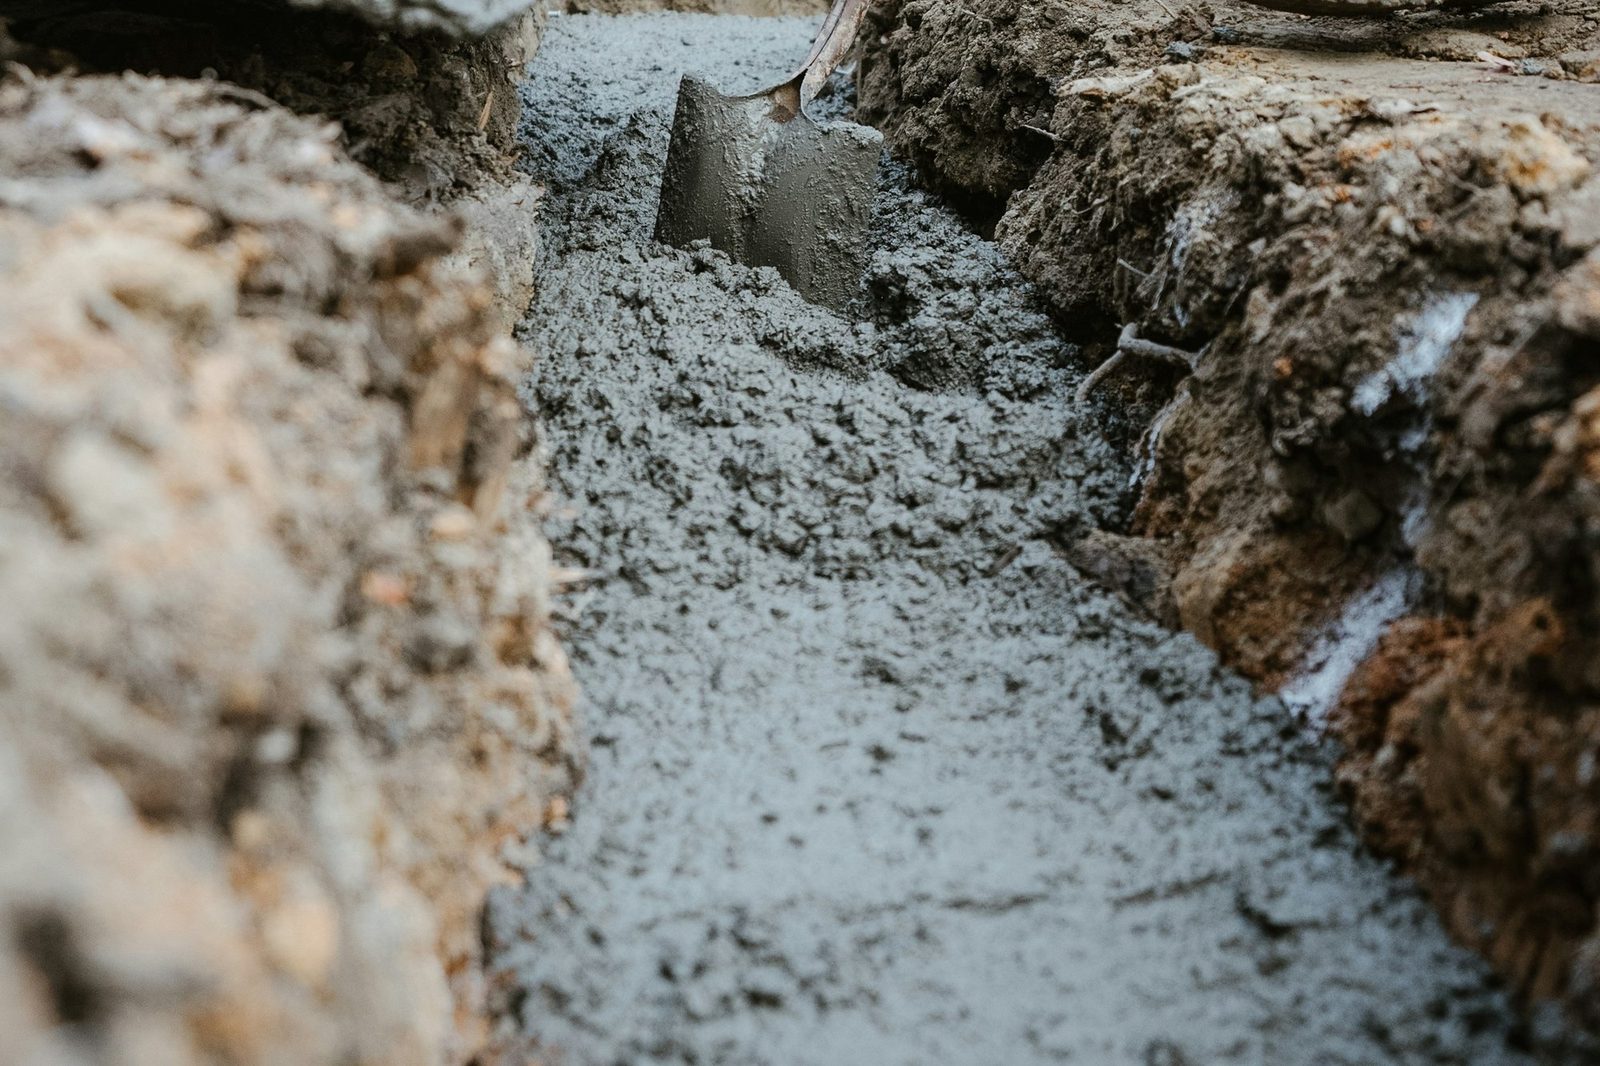
I've poured more condenser pads than I can count across the Treasure Valley, and I can tell you the job is simpler than most homeowners think. A flat, stable slab of concrete under your outdoor unit keeps it quiet, level, and out of the dirt for years. Here's exactly how I do it.
Key Takeaways
-
For most home mini splits, a concrete pad of about 2 × 3 feet and 3.5 to 4 inches thick is plenty, as long as it's level and sitting on packed gravel.
-
In the Boise and Treasure Valley area you usually don't need a separate permit just for the pad, but the mini split itself will need a mechanical permit and inspection. In Ada County that's a $35 base fee plus $25 for each heat pump or AC and $15 for each mini split head.
-
A careful person can form and pour a condenser pad in half a day plus curing time, but should hire a pro if the site has major slope, drainage problems or code questions.
Mini Split Mounting Options - Pad, Stand or Wall Brackets?
-
Pads are the simplest and most quiet option. They are sitting on the ground and they absorb vibration well.
-
Stands give height to clear snow, mud or areas that tend to flood.
-
Wall brackets save ground space but can send more vibration into the building.
Pads For Mini Split Condensers
A common add-on mini split condenser pad is about 18 inches wide by 38 inches long by 3 inches high. Condenser pads give units a level and stable surface, and they keep them out of mud and weeds through freeze-thaw cycles. Even a lightweight plastic pad still needs packed, well-drained soil underneath or it will rock and tilt over time.
Mini Split Stands
Mini split stands are steel frames that raise units off the ground for protection, usually raising the condenser 12 to 24 inches above grade. Stands are recommended in areas prone to snow or flooding. In the mountain regions around Idaho where there is a lot of snow above the normal snow line, where accumulation stays for weeks, stands keep coils clear of snow piles and mud.
I often suggest combining a concrete condenser pad with a stand when soil is soft or the location tends to pool water. It prevents the frame from dropping into wet dirt. Stands add cost and a bit more installation time, but they can save a unit from flood or mower damage over a 10- to 15-year lifespan.
Wall Brackets
Wall brackets mount condensers directly to exterior walls using heavy-duty steel arms that bolt into framing. They're ideal when there's no good ground spot, like narrow side yards, patios or small urban lots with zero setback.
Planning Your Mini Split Condenser Pad
Before you touch a shovel, pick your size, location and material. If you're installing a typical 12,000–18,000 BTU unit for a Boise ranch home, start by opening the installation manual for your specific mini split condenser. It's important to check the manufacturer's installation manual for specific dimensions and requirements-clearance specs vary by brand.
A typical mini-split condenser pad should be sized based on the unit's footprint and clearance requirements. My rule of thumb: the size of the concrete pad should extend at least 1 inch beyond the unit on every side, though 2 to 3 inches is better for longevity and stability. Total pad sizes usually land in the 18-to-24 inch by 36-to-42 inch range for single-zone units.
For location, think about:
-
You'll want good airflow, with no tight corners or enclosed areas
-
You want a short line-set run to the indoor unit
-
You'll want it away from bedroom windows for peace and quiet
-
Not directly under roof drip lines or downspouts
Check drainage and slope. In the Treasure Valley I advise at least 1/4 inch per foot of fall away from the house. So where does water collect? Avoid low spots where thawed snow or irrigation water collects. And remember: while the pad itself usually doesn't need a permit, the mini split does. An Ada County mechanical permit runs about $35 base plus $25 for each heat pump or AC and $15 for each mini split head.
Choosing Pad Material (Concrete vs Composite)
Concrete pros: It doesn't blow away in Idaho winds, it handles UV, it stands up to mower and foot traffic. It can be custom-sized.
Tools and Cost for a Concrete Condenser Pad
A DIY concrete pad for a single mini split usually takes half a day of labor plus curing time. You can often buy everything for under $150 as of 2026.
Tools: shovel, pick or digging bar, 2-foot or 4-foot level, tape measure, string line, hammer, saw for form boards, drill with deck screws, trowel and float, cart or mixing tub and safety gear.
Materials for a typical 24" × 40" × 4" pad:
-
Two 2×4 boards are cut for the form
-
Wooden stakes or metal stakes to hold the form boards in place while you pour the concrete
-
3–4 bags of 60-lb concrete mix (at least 4,000 PSI if the pad might see heavy contact)
-
2–3 bags of 3/4-inch crushed gravel
-
Optional reinforcement mesh or rebar
-
Form oil or release agent
-
Anchor bolts or rubber equipment feet
At Boise big-box stores, all of this usually runs $80–$140 depending on what you already have in stock.
Site Prep, Layout, Excavation and Base
Most condenser pad failures I see in the field come from poor soil prep, not bad concrete. Taking an extra hour here prevents tilting and vibration later.
Lay out the pad with a tape measure and spray paint or stakes and string so the finished position ends up square to the house and centered under the planned line-set penetration. Preparation includes digging out 4 to 8 inches depending on the thickness of gravel and concrete you're placing. Remove sod, roots and loose organic soil until you reach firm native ground. Rake the bottom fairly flat and check with a level.
Add 2 to 3 inches of 3/4-inch crushed rock or gravel, then pack it down with a hand tamper or the butt of a 4×4 post. Packed gravel or crushed stone provides a stable sub-base for the concrete pad. A solid base prevents the concrete from shifting or cracking during freeze-thaw cycles. Bring the gravel to a plane that's about level and a couple of inches below your final pad thickness. Slope the surrounding grade gently away from the house and pad so condensate and rainwater don't pond around the condenser.
Forming And Pouring The Concrete Condenser Pad
Cut your 2×4s to the pad's outside dimensions, screw them together into a rectangle, and set the form in place so the top edge represents the finished pad height. The outside of the form is staked every 2 to 3 feet and diagonals are checked to keep it square. Using a spirit level helps ensure the pad is level and stable during installation, so check front-to-back and side-to-side, shimming under the form boards where necessary.
Lightly oil the inside of the form boards so they release cleanly after curing. Place optional reinforcement. Reinforcement mesh or rebar can prevent cracking in the concrete pad, which matters on softer soils or in our region where freeze-thaw is real.
So how do you know the concrete is ready? Mix concrete until it reaches a thick, workable consistency before pouring. Pour into the form in lifts, then screed across the top with a scrap 2×4 until the surface is flat and level. Concrete pads should be level to ensure proper drainage away from the unit. The surface is floated after it firms up slightly to close voids, broom-finish for traction if you like, and hand-trowel the edges for a clean look.
The concrete needs to cure for at least 48 to 72 hours before placing weight on it. Allow concrete to fully cure for several days before using it with a mini-split unit. I usually wait a full 5 to 7 days before setting and anchoring the condenser, especially in cooler weather.
Embedding Anchors Or Planning For Mounting Feet
You have two options: setting anchor bolts into the wet concrete at locations that match the condenser's mounting feet, or drilling sleeve anchors after the pad hardens. Concrete anchor bolts are installed to secure the condenser unit to the pad and prevent movement, especially if your area sees high wind.
You can simply set the mini split condenser on vibration-isolating rubber feet and skip through-bolting unless the manufacturer or local wind conditions need it. If anchors are used, they must line up with the unit's base frame and stay at least a couple of inches from the pad edge to avoid chipping.
Leveling and Connecting the Mini Split Condenser
Even a well-built condenser pad needs final checks before the mini split goes on top. Recheck level in both directions after curing and grind or shim as needed if there's more than 1/8 inch out of level across the condenser footprint.
The outdoor unit is positioned on the pad so clearances from the wall and sides match manufacturer minimums-usually 4 to 12 inches to the rear and 20 inches or more out front for airflow, cooling efficiency and service access. Set rubber isolation feet or composite risers between the condenser and pad, then snug any bolts down just enough to hold without crushing the rubber.
Line-set, electrical and condensate connections should follow the manufacturer's instructions and local codes. Idaho uses the 2023 NEC with amendments for electrical work, and you'll need a mechanical inspection in Ada County. I'd suggest you handle the pad if you're comfortable with building and concrete, but let a licensed HVAC installer and electrician handle refrigerant lines and final power connections.
When to Use a Stand or Brackets
A stand makes sense when:
-
Your area sees frequent snow over 12 inches deep
-
The yard floods during spring runoff
-
Landscaping mulch will build up around the unit
Basic stand setup: bolt the steel frame to a small pad or piers, check level in both directions, and use anti-vibration pads between the stand and the condenser.
Wall brackets make sense when:
-
You have a very tight side yard or a garage that opens to an alley
-
You'll want to keep condensers clear of kids, dogs and lawn equipment
With wall brackets, verify wall structure, use corrosion-resistant fasteners screwed into solid framing, and maintain all manufacturer clearances. I've lived through enough service calls on poorly mounted units to know this matters.
Permits and When to Call a Pro
Even though a condenser pad is just concrete, the mini split system ties into electrical and mechanical code. Ignoring permits can bite you at resale or when something fails. In Ada County, a residential mechanical permit has a $35 base fee plus $25 for each heat pump or AC and $15 for each mini split head. Inspectors care about clearances, support and line-set and electrical details, not just the pad.
Idaho's adopted codes relevant to this work include the 2018 IECC with amendments (the Idaho Energy Conservation Code, 2020 Edition), 2018 IEBC, 2023 NEC with amendments and the 2017 Idaho State Plumbing Code (based on the 2015 Uniform Plumbing Code) for any condensate ties into the drain system.
FAQ
Do You Need to Bolt the Condenser?
Many mini split condensers in low-wind residential yards just sit on rubber feet on the condenser pad and perform fine. Some manufacturers and local codes require anchoring. Check the installation manual and your local inspector's preferences. If in doubt, use anchor bolts combined with vibration-isolating pads to keep the unit secure and quiet.
How Far From the House Should the Condenser Pad Go?
Many mini split manuals allow the back of the condenser 4 to 12 inches from the wall, but more clearance, around 12 inches, makes cleaning and service easier. Keep enough space on the line-set side, often 18 inches or more, so an HVAC tech can work on valves and connections without squeezing between the unit and other obstacles.
Can you pour a condenser pad in a Boise winter?
You can pour concrete in cold weather, but once overnight lows drop much below 40°F you need cold-weather mix, blankets or additives, which complicates DIY work. I'd suggest you either wait for a mild stretch above freezing or hire a contractor familiar with winter concrete if the heat pump installation can't be delayed.