
How To Install a Condensate Drain Through an Exterior Wall
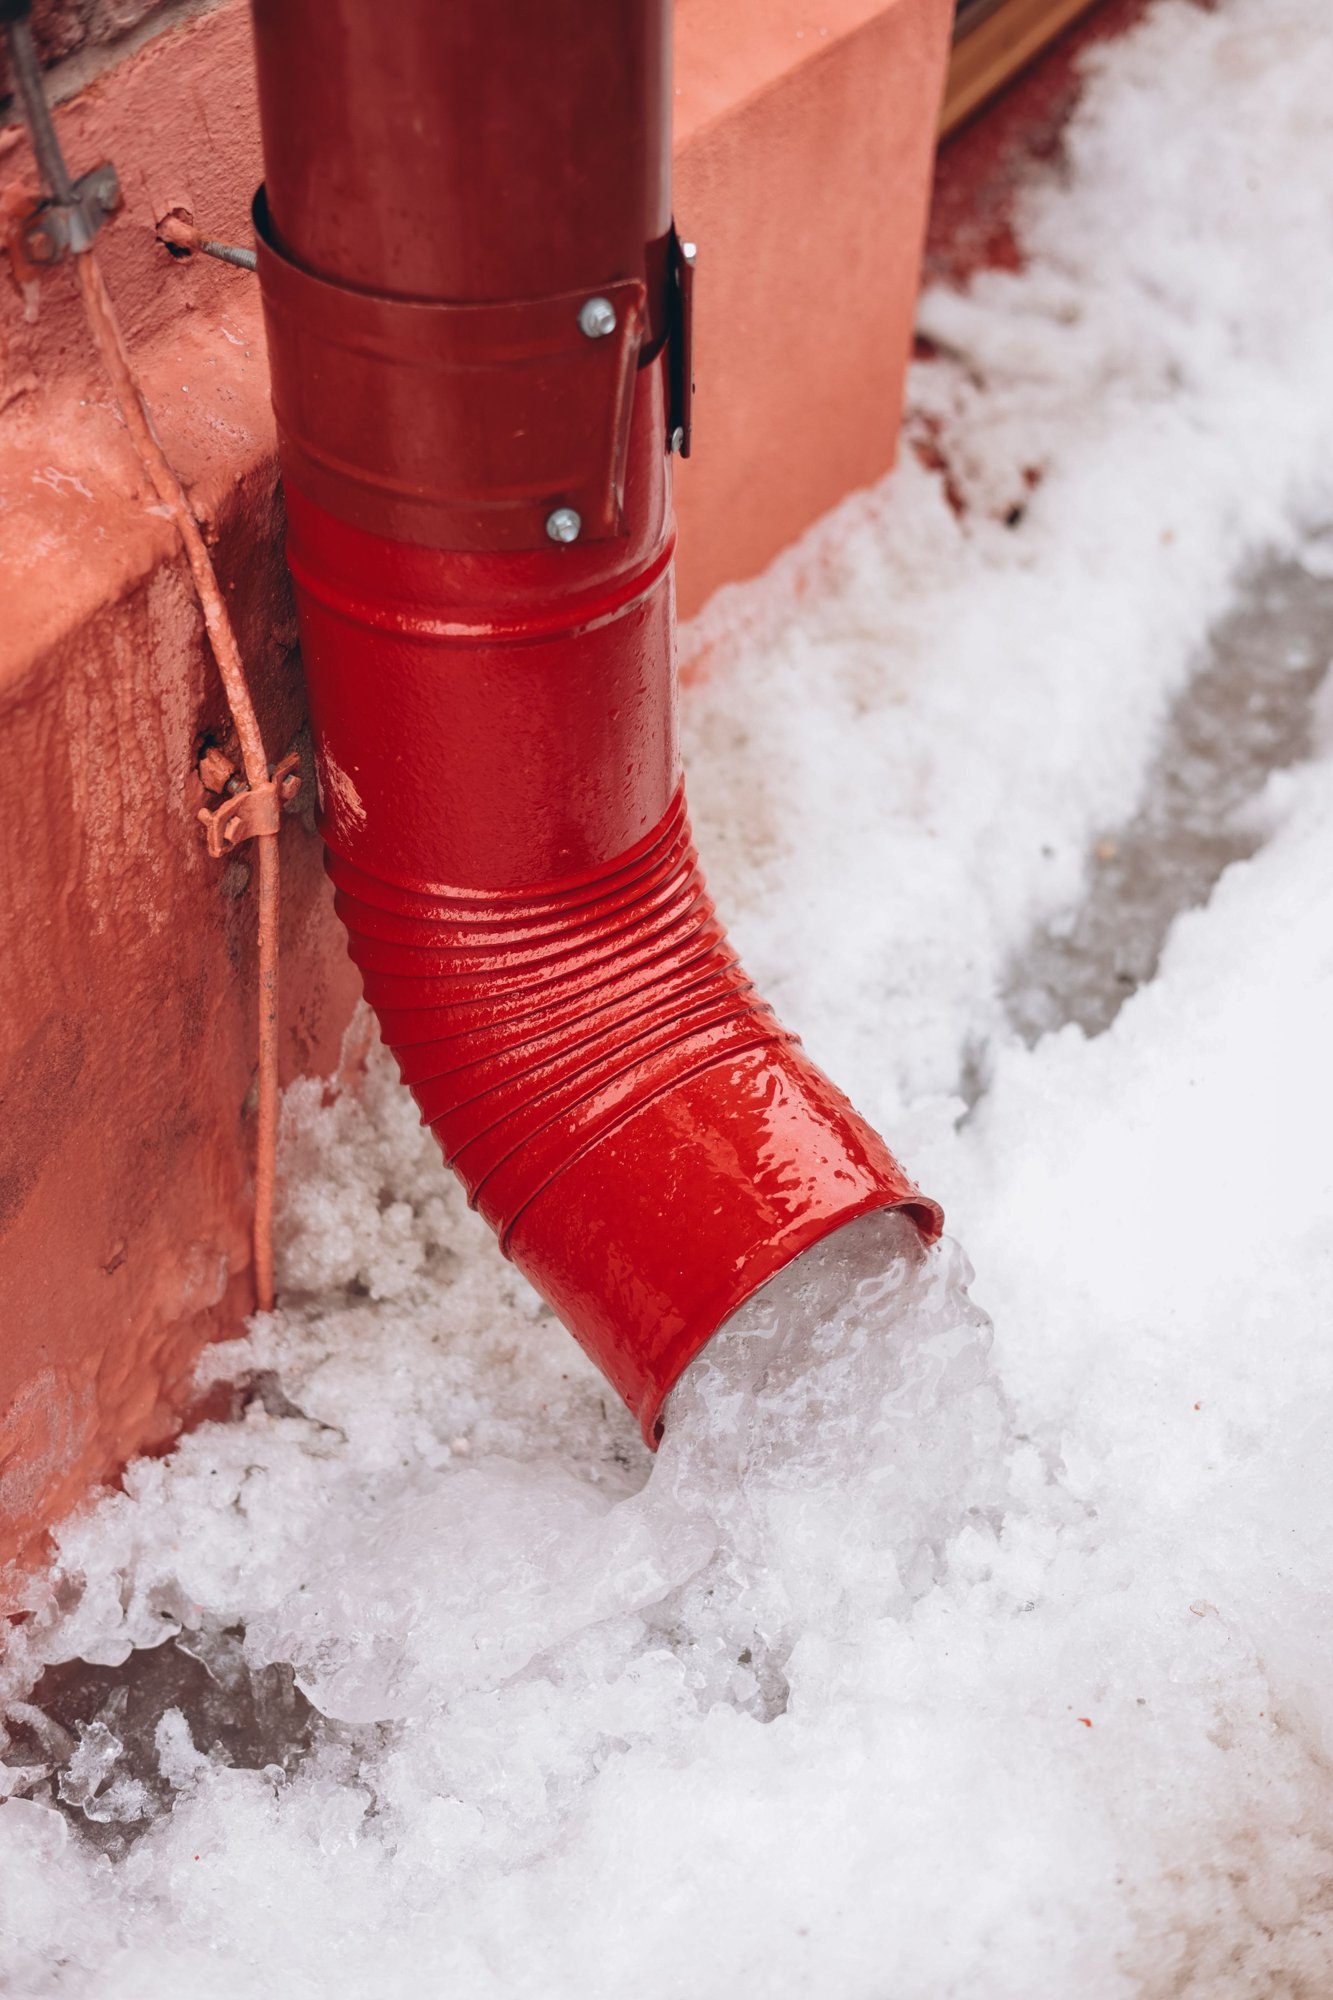
Every air conditioner and heat pump in cooling mode wrings moisture out of indoor air. That water has to go somewhere, and if you don't give it a clear path out of the house, it'll find its own-usually through your ceiling. Running a condensate drain through an exterior wall is one of the most straightforward ways to get rid of that water, and most handy homeowners can handle it in an afternoon. Here's how I do it on jobs around Boise.
Key Takeaways
-
Shut off power to the HVAC system and confirm where the air handler's condensate drain outlet is located before you touch anything.
-
Plan a short, direct route for the drain line so it slopes downward the whole way at about 1/4 inch per foot from the air handler to the outdoor drain outlet.
-
Dry fit all PVC pieces first, then glue. Make sure the trap, vent and cleanout are placed correctly so the condensate drain lines do not back up.
-
Drill the hole through the wall and put a sleeve in it, then seal around the pipe outside with silicone so water can't track back into the wall cavity.
-
You'll want to add float switches, a secondary drain line or a condensate pump where you need them, and test the system with water before you button everything up.
How a Condensate Drain Works
When your HVAC system is running in cooling mode, the evaporator coil gets cold enough that moisture in the air turns to water on it-like the outside of a glass of ice water on a hot day. That water drips into a drain pan underneath the coil and flows out through a condensate drain outlet on the air handler.
From there, PVC pipe or vinyl tubing carries the water to a hole in an exterior wall, a floor drain or a condensate pump. Most Boise-area homes I work on have a 3/4" PVC condensate line running from the indoor unit straight through the nearest wall. Larger units (4–5 ton) sometimes bump up to pipe that is 1 inch.
A few terms worth knowing: the drain pan is the shallow tray under the coil. The primary drain line is the main path water takes out. A secondary drain line (sometimes called an auxiliary drain) connects to a port that is higher up or to an overflow pan, and it only flows if the primary is blocked. A condensate pump is used to move water when gravity won't do the job. When condensate drain lines get clogged or lose their slope, you end up with stains on the ceiling, damage to drywall, mold and eventually an air handler that has rusted out.
Safety, Codes and DIY vs. Hiring Help
Water and electricity live side by side inside an air handler. Always shut off power at the breaker and verify it's dead with a non-contact voltage tester before you start. No exceptions.
The 2018 IRC and IMC require safe disposal of condensate and protection against structural damage. Idaho's plumbing code (section 814) adds requirements for corrosion-resistant materials, proper slope and traps. Check local plumbing codes for specific requirements regarding condensate traps and vents-Boise and Treasure Valley inspectors can layer on their own twists.
A homeowner comfortable with basic plumbing and drilling through siding can usually install a simple gravity condensate drain through a wall. Call a licensed HVAC contractor if the air handler sits above finished space, lives in a tight attic, or if your jurisdiction requires permits. Any electrical work for float switches or a condensate pump must meet electrical code-hire help if you are unsure.
Tools and Materials for a Through-Wall Condensate Drain
Tools:
-
Tape measure, pencil, 4' level or small line level
-
Drill/driver with a wood-boring bit sized for your sleeve (for example, 1-1/8" for 3/4" PVC)
-
There's a hole saw for siding if you need one
-
PVC cutter or fine-tooth saw, deburring tool or utility knife
-
Safety glasses, hearing protection
-
Non-contact voltage tester
-
Shop vac for cleanup
Materials:
-
3/4" Schedule 40 PVC pipe (use PVC pipe for condensate drain lines-it's corrosion-resistant and code-approved)
-
3/4" PVC fittings: 90° elbows, 45° elbows, tees, unions as need
-
Cleanout tee and cap
-
PVC primer and medium-body PVC cement
-
Pipe hangers or straps
-
1" or larger PVC sleeve for the wall penetration
-
Exterior silicone or polyurethane sealant
-
Pipe insulation if needed
Optional items: condensate pump, vinyl tubing, hose clamps, inline float switches, pan float switches and a small splash block for under the outdoor drain outlet.
Planning the Drain Route and Wall Hole
Measure from the air handler's condensate drain outlet to the nearest exterior wall. Keep the run short and accessible so you can clean it later. Choose a discharge point outside that lands at least 12 inches above grade, not over walkways and not soaking the foundation.
Installing a condensate drain line requires a continuous downward slope of at least 1/4 inch per foot. That's steeper than the 1/8" per foot minimum Idaho's plumbing code allows, but in my experience the extra pitch sheds slime and debris better and prevents standing water. Condensate drain lines must slope downward continuously-no flat spots, no dips.
Example: If your air handler outlet is 6 feet from the wall, the drain outlet at the wall should be roughly 1-1/2" lower than the outlet.
Connecting the Air Handler and Trap
Look at your air handler's drain outlet. The primary port sits lower and the secondary drain outlet sits higher. The primary drain carries everyday condensate. The secondary or auxiliary drain is your emergency backup-it only flows when the primary is blocked.
Most residential air handlers create negative pressure at the coil because the blower pulls air through. That suction will stall drainage unless you install a P-trap near the indoor unit to create a water seal. Trap depth matters: it should be at least twice the measured static pressure in inches of water column to keep the blower from sucking air back through the condensate line. Traps must be deep enough to prevent air suction-if the seal is too shallow, your drain pan overflows.
Install cleanouts before traps for easy maintenance access. Place a cleanout tee on the unit side of the trap, fitted with a cap you can pull for flushing. After the trap, add a vent or standpipe-vents should always be taller than the drain pan to prevent spills.
Drilling the Wall and Protecting the Penetration
The goal here is a clean hole with a slight slope that does not invite water or pests back inside. Drilling should be done slightly downward toward the outside so water can't enter indoors.
Start from the inside. Drill a small pilot hole first to verify you're not hitting wires or plumbing. Then size the hole for a sleeve: for a 3/4" condensate line, run it through a 1" or 1-1/4" PVC sleeve and drill to match the sleeve's outside diameter using a spade bit or hole saw.
Different wall types common around Boise-vinyl siding over sheathing, older lap siding, stucco-all drill differently. Slow down to avoid blowout on the exterior face. Angle the sleeve slightly downward toward the outside so water that happens to get in runs away from the wall cavity.
Once the condensate line is through the sleeve, fill gaps with low-expansion foam if you need it. Wall penetrations must be sealed to block air infiltration and moisture. Caulk the exterior joint between siding and sleeve and the joint between sleeve and pipe with a quality exterior silicone or urethane sealant.
Running the Condensate Drain Line Through the Wall to the Outside
Now connect the indoor trap assembly to the wall penetration and continue outside to a visible drain outlet.
Cut and dry fit straight PVC pieces and elbows from the trap outlet to the sleeve. Check constantly for proper slope with a level or by measuring drop over distance. No water pockets-avoid upward dips or sags that create a surprise second trap and block air movement. Maintain clear paths and secure connections so you don't get clogs and leaks in the drain line.
Gluing sequence: once the dry fit is confirmed, pull apart, apply PVC primer then PVC cement to male ends, twist 1/4 turn as you seat fittings, and hold for 5–10 seconds to prevent push-back.
Outside, extend the pipe a few inches beyond the siding and turn it downward with a 90° elbow. Exterior drain lines should be extended at least 12 inches from the foundation-farther if you can manage it. Attach pipe straps every 3–4 feet along joists or studs so the drain line route stays tight and properly sloped over time.
Adding Float Switches and Optional Condensate Pump
In Boise attics and closets, I install at least one float switch on every system I touch. I've seen too many ceilings ruined by a $20 part that wasn't there.
Float switches prevent overflow in condensate drain systems. The main types: an inline switch on the primary condensate drain, a pan switch in a secondary pan under the air handler, and a reservoir switch built into a condensate pump. Float switches should be positioned below the drain pan so they trip before water reaches the overflow point. Float switches stop the refrigeration cycle before water damage occurs by breaking the R (thermostat power) wire-any backup condition shuts the HVAC unit down.
Multiple float switches provide extra protection against overflow. Wire them in series so any one tripping opens the circuit-common when there's a secondary pan under an attic air handler.
Where gravity drain isn't possible, a small condensate pump sits below the unit and pushes water through flexible tubing to an approved drain point. Use a hose clamp to secure tubing to the pump's outlet and make sure the pump has a working check valve. Pump choice and electrical wiring are good places to call in an HVAC pro if you are not fully comfortable.
Testing, Insulating and Final Checks
Prime the trap by pouring at least a half-gallon of clean water into the air handler's primary drain pan or cleanout. Watch for steady flow out of the outdoor drain outlet. Check every glued joint and the wall penetration for leaks-if anything drips, cut it out and redo that section before closing up.
In humid climates and occasionally in damp Boise basements, insulate horizontal sections of the condensate line and the trap to prevent external condensation and water staining on ceilings or walls. Remember that condensate lines can freeze solid during winter without proper protection-keep exposed outdoor sections short.
-
Confirm continuous downward slope end to end
-
Is the vent after the trap uncapped?
-
Verify float switches cut power when you lift them (use a bucket of water to test)
-
You'll want to label the drain line if it runs near other plumbing in the system
Regular maintenance-flushing the line with a diluted vinegar solution once or twice per cooling season-keeps the new condensate drain line clear. That matters because 9 out of 10 clogged drain lines are the result of poor maintenance, not bad installation.
Frequently Asked Questions
Can I tie my condensate drain into a plumbing drain inside the wall?
In some jurisdictions you can connect a condensate line to a properly trapped and vented plumbing system, but local codes often require an air gap or indirect connection so sewer gases can't reach the air handler. In the Treasure Valley, most simple retrofits keep condensate lines separate and discharge them outside, where a clogged drain is easier to spot and fix. Check with the local building department or a plumber before tying into an existing sink or floor drain.
What slope do I really need on a gravity condensate drain?
Many codes accept a minimum of 1/8" fall per foot of horizontal run. I prefer 1/4" per foot because it sheds slime and debris better. Quick example: a 10-foot run should drop about 2-1/2" at 1/4" per foot. More slope is fine as long as the drain outlet still ends up at a practical height outside.