
Mini Split Wall Bracket vs Ground Stand: Which Mounting Option to Choose
Mini Split Wall Bracket vs Ground Stand
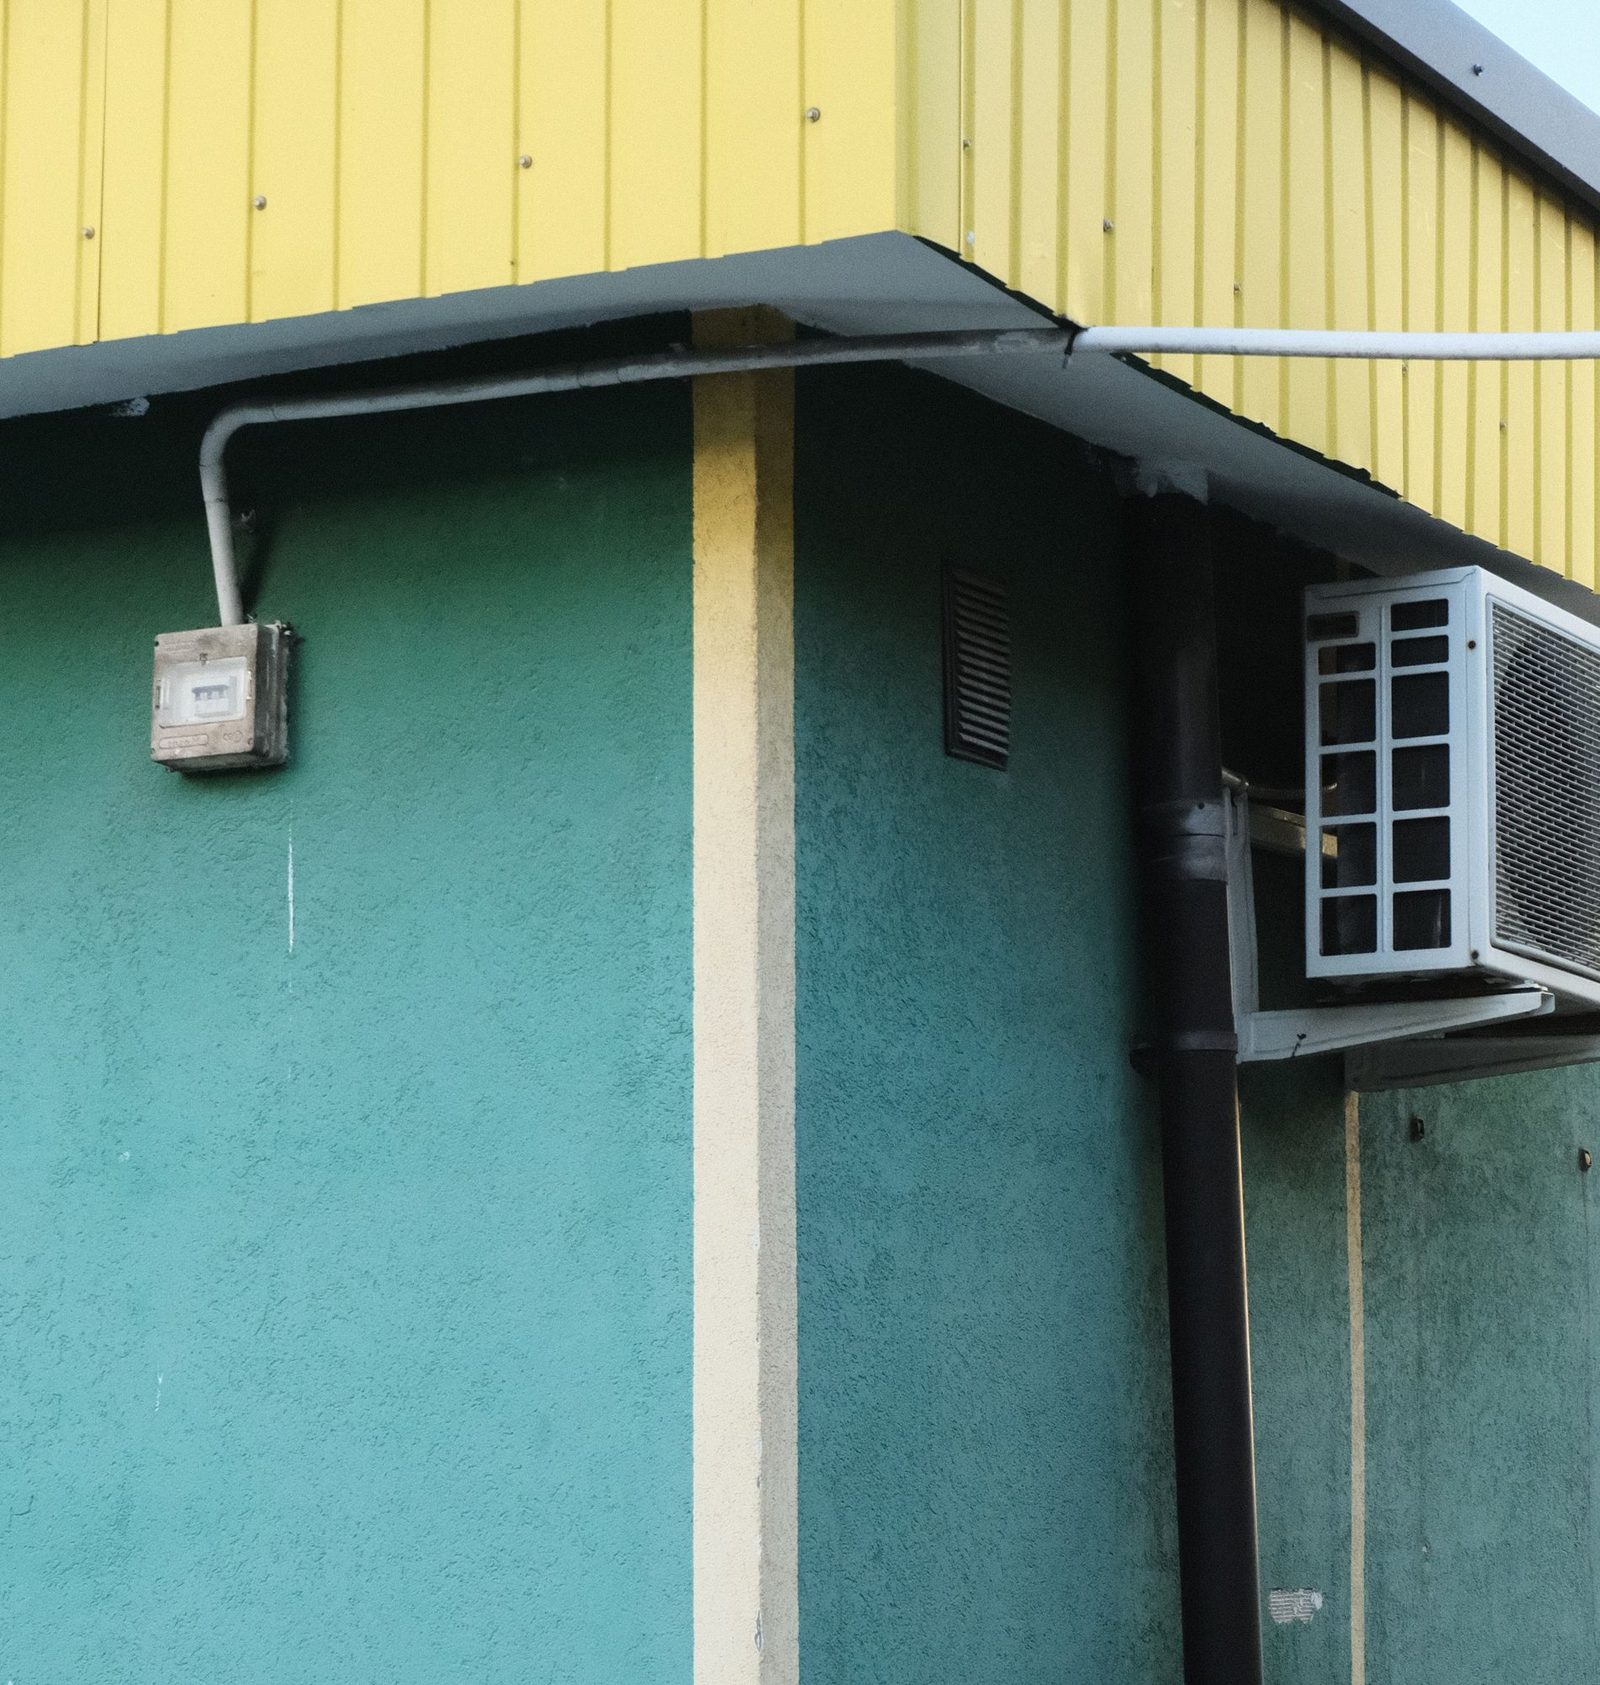
If you're planning a ductless mini split install in the Treasure Valley, mini split wall bracket vs ground stand is one of the first decisions you'll face for how to mount the outdoor unit. A wall bracket uses bolts to fasten the condenser to the outside of your wall. With a ground stand, the unit sits on a pad or platform at ground level. Both work, and both are code-compliant when you do them right. Depending on your house, your yard and how much noise versus snow hassle you can live with, the real question is which one fits your situation.
For most Boise-area homes with solid wall framing and decent siding - especially post-2000 builds with 2×6 walls - a wall bracket is the better long-term choice because it keeps the unit well above our snow, sprinkler spray and yard debris without eating up ground space.
That said, a ground stand is the smarter call when you've got older or weak siding like brick veneer or thin stucco, when the outdoor unit sits right behind a bedroom, or when you just want the most quiet indoor experience and the lowest install cost. Both mounting options need solid planning for the installation that depends on your site conditions. When it comes down to it, you have four things to think about: snow and debris protection, noise and vibration in the house, what your wall can handle in terms of structure, and what you're willing to spend on hardware and labor.
One note for local context: Boise's IRC design criteria call for a 20 psf ground snow load, and our local change raises the design roof snow load to at least a uniform 25 psf. We don't have an ice-barrier requirement here per the R301.2(1) table, but we absolutely deal with real snow pile-up in side yards and freeze-thaw cycles that affect how high you want the unit off the ground.
What Is a Mini Split Wall Bracket?
Generally L-shaped and powder-coated so it won't rust, a wall bracket is a steel frame that gets bolted or screwed into your exterior wall's framing so the outdoor condenser sits up above finished grade. Right against the wall, the bracket holds the unit, and it has to hit solid studs, rim joists or masonry behind the siding.
Typical home mini split systems use units in the 18k–36k BTU range, and those outdoor condensers weigh about 60 to 130 pounds depending on capacity. The bracket itself needs to be rated for at least double that weight. Usually the bracket is mounted 12 to 36 inches above the ground, and there are rubber isolation pads that sit between the bracket arms and the unit's feet to cut down on vibration.
There are several situations where wall brackets work well:
-
Snow and spray clearance. Wall brackets can lift the compressor above snow. This prevents blockage and keeps mud, sprinkler spray and mower throw-back away from the coil.
-
Debris and pest reduction. It's harder for rodents, leaves and dirt to collect beneath or inside the condenser when the unit is off the ground.
-
Service convenience. You can clean the coil, connect gauges and access valves at a comfortable working height instead of being on your knees in gravel.
-
Tight lots. Mini split wall brackets save ground space by keeping the condenser up in the air - this is good for narrow side yards, patios and areas where a pad would block paths or break setback rules.
In terms of structure, brackets need solid framing behind the siding. They can't rely on just sheathing or a stucco scratch coat. That's something a builder has to check before putting any weight on the wall.
What Is a Mini Split Ground Stand?
A ground stand is a metal frame, plastic base or composite platform, and it holds the outdoor unit at or near ground level. It raises the unit off the soil or a concrete slab. It usually lifts the unit a few inches to about a foot, depending on how tall the stand's legs are and how much snow you get.
Common setups include:
-
A simple composite or plastic pad with rubber feet under the condenser. It sits on packed gravel.
-
An adjustable metal stand that is held down to a small concrete pad (usually 3–4 inches thick over a packed base).
-
Pre-fab anti-vibration stands that are made for gravel beds or even rooftop use.
These are the main advantages you get with a ground stand:
- No wall loading. There's zero stress on the exterior wall or siding. This makes it generally the safer route for older homes, weak framing or walls you don't want to penetrate.
In yards with heavy snow, areas with big snow piles, and spots with poor drainage where water or ice can build around the base, the limitations show up. Ground stands need a level base to stay stable and work right, and in Boise's freeze-thaw climate, a pad that isn't level can shift over a season or two.
Wall Bracket vs Ground Stand Compared
| Factor | Wall Bracket | Ground Stand |
|---|---|---|
| Best for | Tight side yards, snow-drift zones, homes with solid 2×6 framing and good siding | Older walls, noise-sensitive rooms, flat well-drained yards, budget-conscious installs |
| Approximate extra install cost (Boise) | Adds roughly $400–$700 over a basic pad install (bracket hardware, fasteners, flashing, labor) | Pad and stand typically $150–$400 total; less labor in most cases |
| Snow and debris protection | Excellent when mounted 18–24" above grade; unit stays clear of drifts, splash, and mower debris | Lower stands (4–12") are susceptible to snow buildup unless an elevated stand is used |
| Noise/vibration inside the house | Can transmit compressor hum into framing; vibration and noise risk exists with wall brackets if isolation pads are not used | Usually quieter indoors; vibration mostly absorbed by pad and ground |
| Foundation/wall requirements | Needs solid structural backing - studs, rim joist, or masonry; proper flashing at penetrations | Needs stable, level, well-drained pad; frost-heave and settling are the main concerns |
| Service and maintenance access | Good working height for techs; no kneeling in snow or gravel | Easy ground-level access; simpler to replace, reposition, or re-level |
The short version: wall brackets win for protection and tight spaces; ground stands win for simplicity, cost, and indoor noise control.
Factor 1: Snow, Water and Debris Protection
In a climate like Boise's, outdoor unit height matters more than you usually expect. With a 20 psf design ground snow load and real-world snow piles that can stack 1–2 feet in side yards, a condenser that sits low to the ground is at risk every winter. Add sprinkler spray in the warmer months and leaf buildup in fall, and where you put the unit vertically becomes a year-round concern.
A ground stand, on the other hand, may only lift the unit 4–12 inches unless you specifically choose a tall-leg model or build a raised concrete platform. At those lower heights, you face real risks:
For the Treasure Valley, we generally like the bottom of the condenser at least 18 inches above finished grade on wall brackets, and at least 12–18 inches on ground stands in drift-prone or sprinkler-adjacent spots. Some manufacturer manuals - LG's technical documentation, for instance - recommend a snow-stand height that is equal to the average annual snowfall plus about 20 inches for wall-mounted foundation installs.
You should position ground stands carefully so you can avoid debris and damage. And regardless of which option you choose, always slope the grade away from the house (at least 2%) so water doesn't pool under the unit.
Factor 2: Noise and Vibration in the House
When a wall bracket bolts the condenser directly into the rim joist or studs, it creates a rigid connection between the compressor and your home's framing. Vibrations from the outdoor unit can travel into the house through that path - studs, sheathing and siding all carry the sound. On older framing, lightweight walls or vinyl siding, the hum can be surprisingly loud indoors, especially at night in quiet rooms. How loud can the hum get indoors? On older framing, lightweight walls or vinyl siding, it can be surprisingly noticeable at night in quiet rooms. Many of you who accept wall mount installations end up noticing vibration months later during overnight operation, as heat pump forums consistently confirm.
There are a few approaches you can use to control this:
-
Rubber or neoprene isolation pads that sit between the bracket and the unit feet.
-
Screwing into solid framing members instead of just sheathing.
-
Avoiding mounting directly on thin bump-outs, bays that stick out or areas with lightweight framing.
-
Using anti-vibration techniques at every interface point - not just the bracket, but also flexible connections in linesets and conduit, since those are vibration paths too.
Factor 3: Structure, Siding and Code Considerations
When mounting a condenser, structural wall strength should support its weight and vibration - and this is where builders get cautious. An outdoor unit plus a heavy-duty bracket can easily push 150–200 pounds of static load, and that doesn't include dynamic forces from the compressor cycling. That load has to land on something solid.
The bracket must anchor into studs or rim joists, and not just into lap siding or fiber cement panels. On post-2000 Boise homes with 2×6 framing, there's usually good material to bolt into. On older homes with brick veneer, thin stucco or unknown sheathing, the wall may not be up to the task without adding blocking behind the siding - which means pulling siding, installing framing and putting it all back together.
Any wall penetration for refrigerant lines, wiring or condensate drains needs to be flashed per 2018 IRC R703.4. That means shingle-fashion flashing at every penetration, and it's the same standard we follow at window and door openings, wherever decks or stairs attach to a wood-frame wall, and at wall/roof junctions. Skip the flashing and you're inviting moisture behind the siding, which can mean rot around the mounting over time.
Code-adjacent issues to keep in mind:
Factor 4: Cost, Labor and Installation Complexity
The work involves locating studs or rim joists behind the siding, drilling or cutting carefully, installing blocking if needed, securing the bracket with corrosion-resistant fasteners, and re-flashing every penetration. If you're mounting high on the wall, ladders or staging add time. The bracket hardware itself - powder-coated steel, isolation pads, fasteners - costs more than a basic plastic pad. In the Boise market, putting a wall bracket assembly together with proper install usually adds about $400–$700 over a basic ground pad installation, depending on siding type and whether you need to cut and patch finished materials.
Digging out a shallow area, packing gravel, setting the pad or stand, leveling it and anchoring the unit is what a typical install looks like. Composite plastic pad stands often run $150–$300. Metal stands with adjustable legs or tall snow-height legs cost $300–$500 depending on material and height. For a pro crew, the install is generally faster and more efficient, especially when they're already digging trenches for electrical or running low-wall line sets.
Factor 5: Service, Lifespan and Future Changes
How you mount the condenser today affects how easy it is to work on for the next 15–20 years and how well it holds up over that time.
Wall Bracket or Ground Stand?
Both mounting options are proven, they meet code and they are widely used in the industry. Depending on your yard, your wall, your budget and how much noise versus snow risk you can handle, the right call varies. Neither is perfect in every situation.
FAQs About Mini Split Wall Brackets and Ground Stands
Is a DIY Wall Bracket or Ground Stand Install a Good Idea?
You can reasonably handle some of the site prep - pouring a basic concrete pad, building a packed gravel base, or putting together a pre-fab stand. But anchoring a bracket into your wall structure, running refrigerant lines and making electrical connections should be left to a pro. Proper fasteners into framing, correct flashing at penetrations per IRC R703.4, and enough clearance around the unit are critical and often overlooked in DIY mounts. Safety and code compliance aren't areas where you want to learn by trial and error.
How High to Mount a Mini Split on a Wall Bracket in Boise?
We generally aim for the bottom of the outdoor unit to sit 18–24 inches above finished grade in the Treasure Valley. That clears typical snow piles in side yards and keeps the coil above splash and mower debris. If your yard is protected and doesn't get much snow pile-up, you might get away with a bit less, but more height rarely hurts. Note that the final height also has to respect manufacturer service clearance specs and your local inspector's preferences, so the exact number gets set with both in mind. As a separate point, wall-mounted units (the indoor unit) are usually installed about 6 feet from the floor, with at least 6 inches of clearance above - don't mix up indoor unit height with outdoor condenser mounting height.