
How to Frame a Wall for a Mini Split (Solid, Quiet, Code-Friendly)
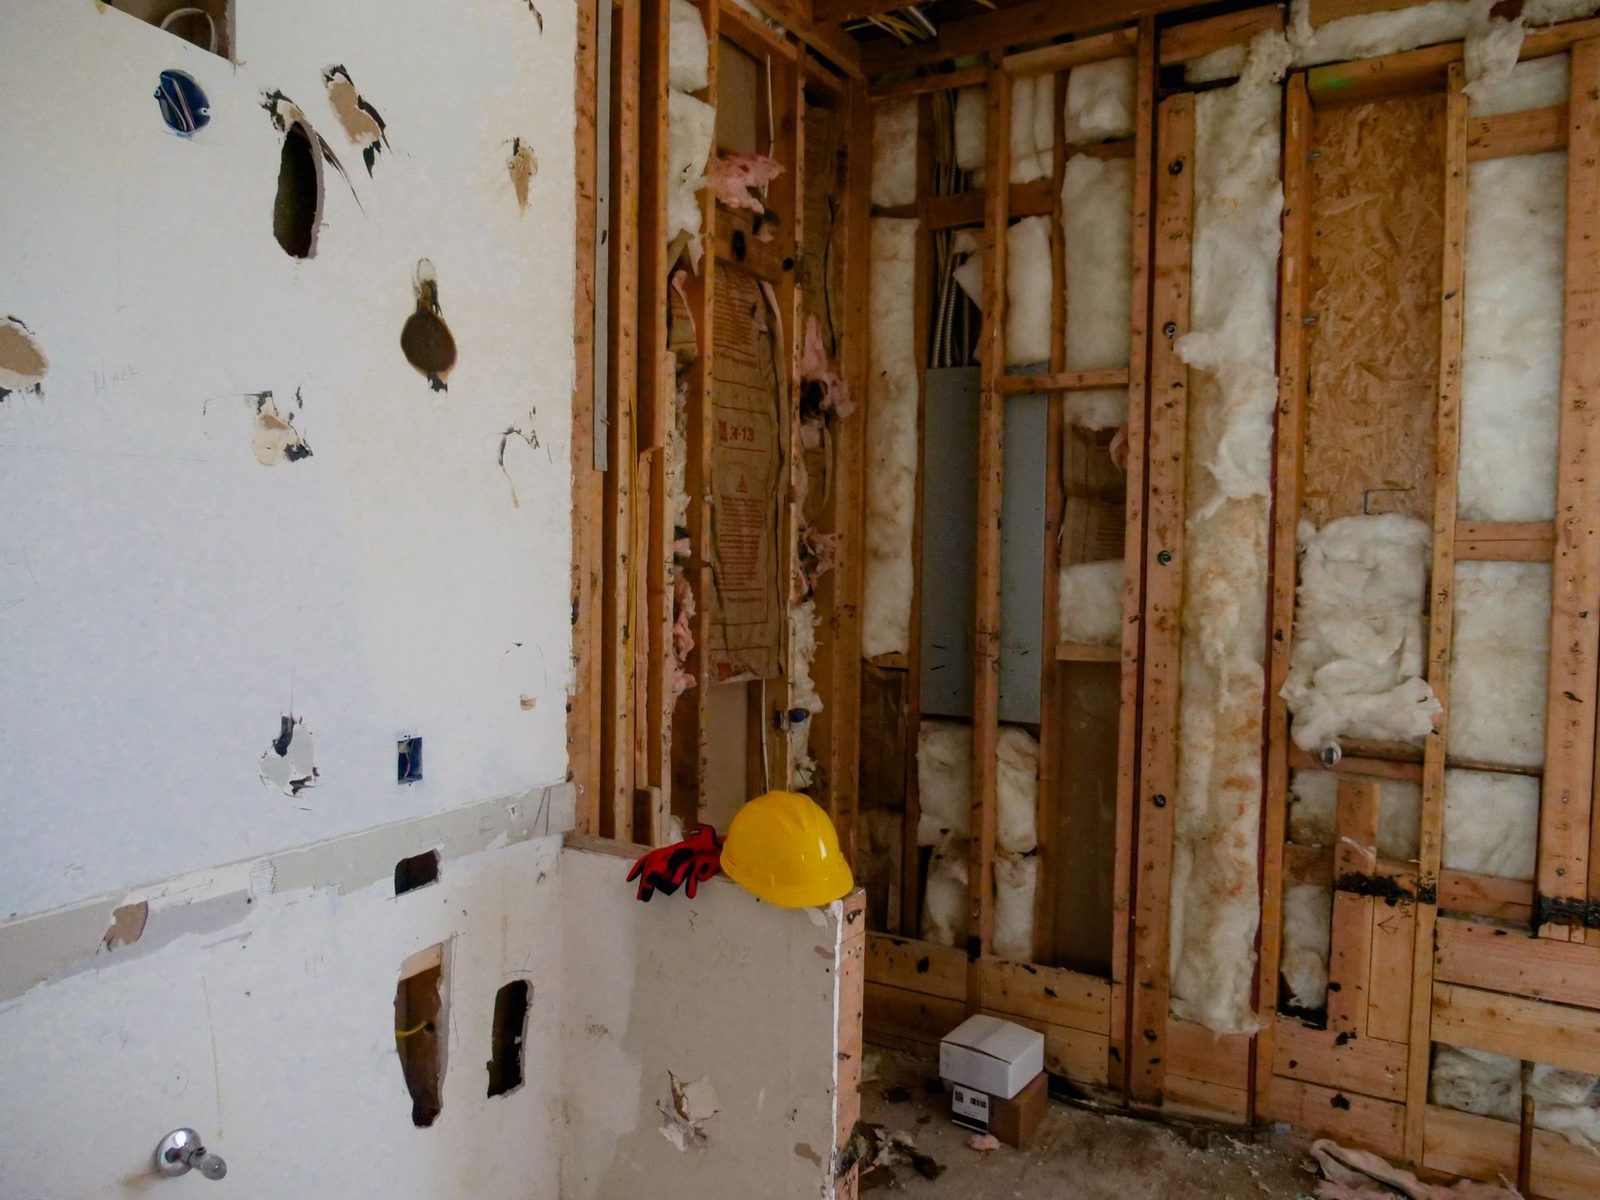
Framing a wall for a mini-split air conditioning system requires careful planning, and most of that planning happens before you pick up a saw. I've hung enough of these units in homes across the Treasure Valley to know that the difference between a quiet, solid install and one that buzzes and cracks drywall comes down to what's behind the wall. Here's how I approach it.
Key Takeaways
-
Framing for a mini split starts with knowing exactly where the indoor unit will go, where the line set will run, and where the condensate drain will go, all before you close any walls up. A typical wall AC or mini split indoor unit needs full-width backing made from 2x lumber or plywood, a clear path for lines to the outdoor unit, and horizontal blocking placed at the manufacturer's mounting height.
-
In Boise and the Treasure Valley, you usually don't need a separate permit just to add blocking in an existing wall, but cutting new openings or adding new framed walls often does trigger a building permit.
-
It's a good idea to have a licensed HVAC pro handle refrigerant and electrical work. You can reasonably handle framing, drywall and sometimes the condensate drain path.
How Framing Affects Mini Split Noise
A mini split indoor air handler usually attaches to an existing wall and weighs somewhere between 20 and 40-plus pounds depending on the model. That's light compared to a furnace, but these units have a fan and blower motor inside that create vibration every time they run. If that unit is hanging on weak backing, those shakes transfer into the wall, and you hear it as a low hum or shake in the room.
Modern mini split systems are efficient on paper, but bad framing ruins all of that. An exterior wall gives you a short, direct line-set run to the condenser, but it also means working around insulation and vapor barriers. An interior wall might give better room coverage and keep the unit away from bedrooms, but you'll need a longer line-set path and possibly a condensate pump. Either way, solid studs, tight fasteners and a solid mounting surface are what make the system quiet and keep it running right for years.
Plan Mini Split Location Before You Touch a Stud
Before you modify any framing, you can walk the room and think about airflow. The indoor unit has to have a clear throw across the space with no tall cabinet, bookcase or soffit blocking the air. Try not to place indoor units near heat sources or direct sunlight. That includes spots close to dryer vents, south-facing windows or above a hot appliance.
Here's how I lay out the location:
-
Choose the wall. An exterior wall makes the line-set run to the outdoor unit simpler. An interior wall sometimes gives better coverage across the room but forces longer lines and more routing.
-
Mark mounting height. Indoor units should be mounted about 6 feet from the floor at the bottom of the unit, with the top usually near the ceiling. Keep at least 6 inches of clearance above indoor units and about 4 inches from side walls. Indoor air handlers have to have specific clearance around them for return air and service access.
-
Check inside the wall. Use a stud finder, peek inside an outlet box with an inspection mirror, or drill a small access hole. You need to know where electrical, plumbing and vent pipes are before you commit to a location.
-
Plan the line-set route. Refrigerant lines, control cable and condensate drain usually exit through one 3-inch hole to the exterior, or run through a bay to a crawl space or up to an attic.
-
Multi-head layouts. On multi-head mini split systems, plan so line sets group neatly to the outdoor unit instead of zig-zagging through the house. Outdoor units have to have enough airflow to operate properly, so set the condenser on an even surface with plenty of clearance on all sides.
Does Your Wall Need Structural Changes?
Most mini split indoor units hang on standard 2x4 or 2x6 framed walls without major changes. The space between studs for mini split mounting brackets generally uses standard 16-inch on-center wood or metal studs. But I'm always running into odd conditions.
-
Load-bearing check. Look at joist direction, walls stacked above and below, and proximity to the center of the house. Hanging a mini split on a bearing wall is fine. Just don't cut structural members. Framing for a mini-split should avoid cutting through structural studs or headers.
-
Don't notch studs to hide lines. IRC rules allow boring holes up to 40% of stud width, centered on the stud depth. Use those approved locations or go straight through the sheathing to the outside.
-
Older Boise homes. Houses from the 1950s–1970s around here often have 2x4s at 24 inches on center or mixed framing. These usually need extra blocking for a standard mounting plate.
-
Metal studs. Common in basements and offices. They need wood backing or special anchors to hold the weight and vibration of the unit.
-
Out-of-plumb walls. With a crooked wall, shim the studs or sister new straight ones so the indoor unit hangs level without weird gaps.
Backing and Blocking for the Indoor Unit
This is where you actually modify the framing so the mounting bracket and wall AC unit are tied into solid wood, not thin gypsum.
-
Locate stud centers. Mark them clearly, then choose your method: span studs with 2x lumber blocking, or skin the area with 1/2- to 3/4-inch plywood behind the drywall for future flexibility.
-
Open the wall cleanly. On an existing wall, cut a rectangle slightly larger than the indoor unit footprint. Protect nearby trim and finishes.
-
Install horizontal blocking. Horizontal blocking is recommended for securing the mounting plate of a mini split indoor unit. Set 2x4 blocking between studs at the manufacturer's bracket screw height and fasten with screws from the stud sides. This is rigid, simple and easy to hit with bracket screws later.
Framing and Routing for Line Sets, Control Cable and Condensate Drain
Safe paths for the refrigerant lines, control wiring and drain line keep everything tight and code-friendly.
-
Main pass-through hole. Through the exterior wall, a hole is usually drilled at a slight downward angle, about 1/8 to 1/4 inch per foot slope. Most manufacturers are calling for a 3-inch diameter. A wall sleeve is installed to protect line sets and wiring through exterior walls.
-
Stud boring. Drill centered in the stud depth. Respect the 40% rule for hole diameter and use nail plates where the hole is close to the face of the stud.
-
Gravity drain vs. condensate pump. If the indoor unit is on an exterior wall, gravity drain works. On an interior wall, plan for condensate drainage. A condensate pump may be needed, and framing must allow space for the pump box or a small chase. Continuous downward sloping of the condensate drain is necessary to avoid pooling.
-
Chases and soffits. If lines must run horizontally through a finished room, box a small chase with 2x material tied into existing studs or joists. Keep access for future service.
-
Seal and firestop penetrations. All framed penetrations to the outside should be sealed and fireblocked. Never leave them as open cavities.
Insulation, Vapor and Energy Code Considerations
Any framing changes in an exterior wall must maintain or improve the wall's insulation and air seal. From our experience, the 2018 IRC for Climate Zone 5, which covers Boise, calls for R-20 or R-13 plus R-5 continuous insulation in wood-frame walls. With a big hole left open, you've just hurt your home's comfort and broken energy code.
-
Seal line-set penetrations. Use spray foam or backer rod and sealant inside, plus exterior covers to keep air and bugs out. Proper sealing around wall penetrations helps maintain a building's envelope.
-
Sound control. While the wall is open, add mineral wool or dense fiberglass batts in shared walls between a bedroom and living areas. You won't get this chance again easily.
Permits, DIY and When to Call Pros
In Boise and the Treasure Valley, the line between simple framing and work that needs a permit is mostly about structural changes, new walls and new mechanical systems.
-
Blocking alone inside an existing wall is usually minor work and often doesn't require a separate building permit-but check with your local building department.
-
New framed walls or exterior openings put you in permit territory. Boise's building permit fee is valuation-based, around $595.30 on a $50,000 project. A solo mini split backing job won't hit those numbers.
-
Licensed HVAC contractor must handle refrigerant work (EPA 608 certification needed) and usually the dedicated electrical circuit and disconnect. You can handle framing and drywall if you're handy.
-
Hire a framer for older houses with bad framing, possible load-bearing changes or when mini split systems are part of a bigger remodel.
-
Surrounding counties. In Ada County, plan review costs 50% of the permit fee, much higher than Boise's 20%. Canyon County collects an $80 zoning compliance fee plus a $180 plan review deposit. Planning the mini split framing as part of one permitted project is usually cheaper than piecemeal permits.
Mounting the Indoor Unit and Checking Framing
This is where you learn whether your framing is solid before the system gets closed up.
-
Dry-fit the mounting plate. Check that all screws land in blocking or studs. If any miss, adjust blocking now.
-
Level everything. Use a 4-foot level on the bracket. Some manufacturers allow a slight tilt toward the drain side for condensate flow.
-
Hang the unit. Gently set the indoor unit on the bracket. It should seat fully and not rock or flex the wall when pushed side to side.
-
First run. Once the HVAC tech connects the line set and starts it up, listen for buzzing, rattling or wall vibration. That's a sign to re-check fasteners and blocking. Rubber or cork vibration-isolating pads can be used under the outdoor condenser to prevent noise transmission as well.
-
Last easy chance. This is the time to correct framing issues before line-set covers, trim and final paint close everything up.
FAQ
Hang a Mini Split on Drywall Without Opening the Wall?
Some installers use heavy-duty anchors, but best practice is for you to tie into studs or added blocking. Drywall alone risks sagging, noise and cracked finishes over time. If you can hit at least two studs solidly with the mounting plate, you may not need to open the wall. With older walls or unknown framing, it's safer for you to open and reinforce.
Special Framing for Interior Wall Mini Splits?
Basic stud framing is usually fine, but you need careful blocking and a planned path for the condensate drain and line set, sometimes a small framed chase or soffit. A condensate pump may need framing a niche or shelf. The wall should be strong enough that pump vibrations don't echo through the room.
How Much Wall Support for a Mini Split?
Most wall-mounted indoor units weigh 20 to 40-plus pounds. Dynamic loads from starting and stopping the fan make solid attachment important. Frame your blocking as if supporting at least two to three times the static weight for safety and stiffness. Always check your specific model's specs.
Insulation or Sound-Deadening Behind the Indoor Unit?
Insulation in the stud bays is fine and often helpful for comfort and cooling efficiency. But don't compress soft batts directly behind the mounting plate. That can let the unit move and rattle. Keep the backing layer tight to the studs, then insulate around it so the mounting surface stays firm.
Is there anything different about framing for ceiling cassette or floor-mounted mini splits?
This post is focusing on wall-mounted indoor units. Ceiling cassettes usually need joist framing modifications and sometimes additional hangers rated for the weight. Floor units need solid sill or knee-wall framing near the floor. For a ceiling cassette, treat it as a structural project and coordinate early with both HVAC and framing contractors. You'll spend a lot of days sorting those out after the fact. It's hard to replace bad framing once ceilings are finished.