
How to Slope a Condensate Drain Pipe: Builder's Guide
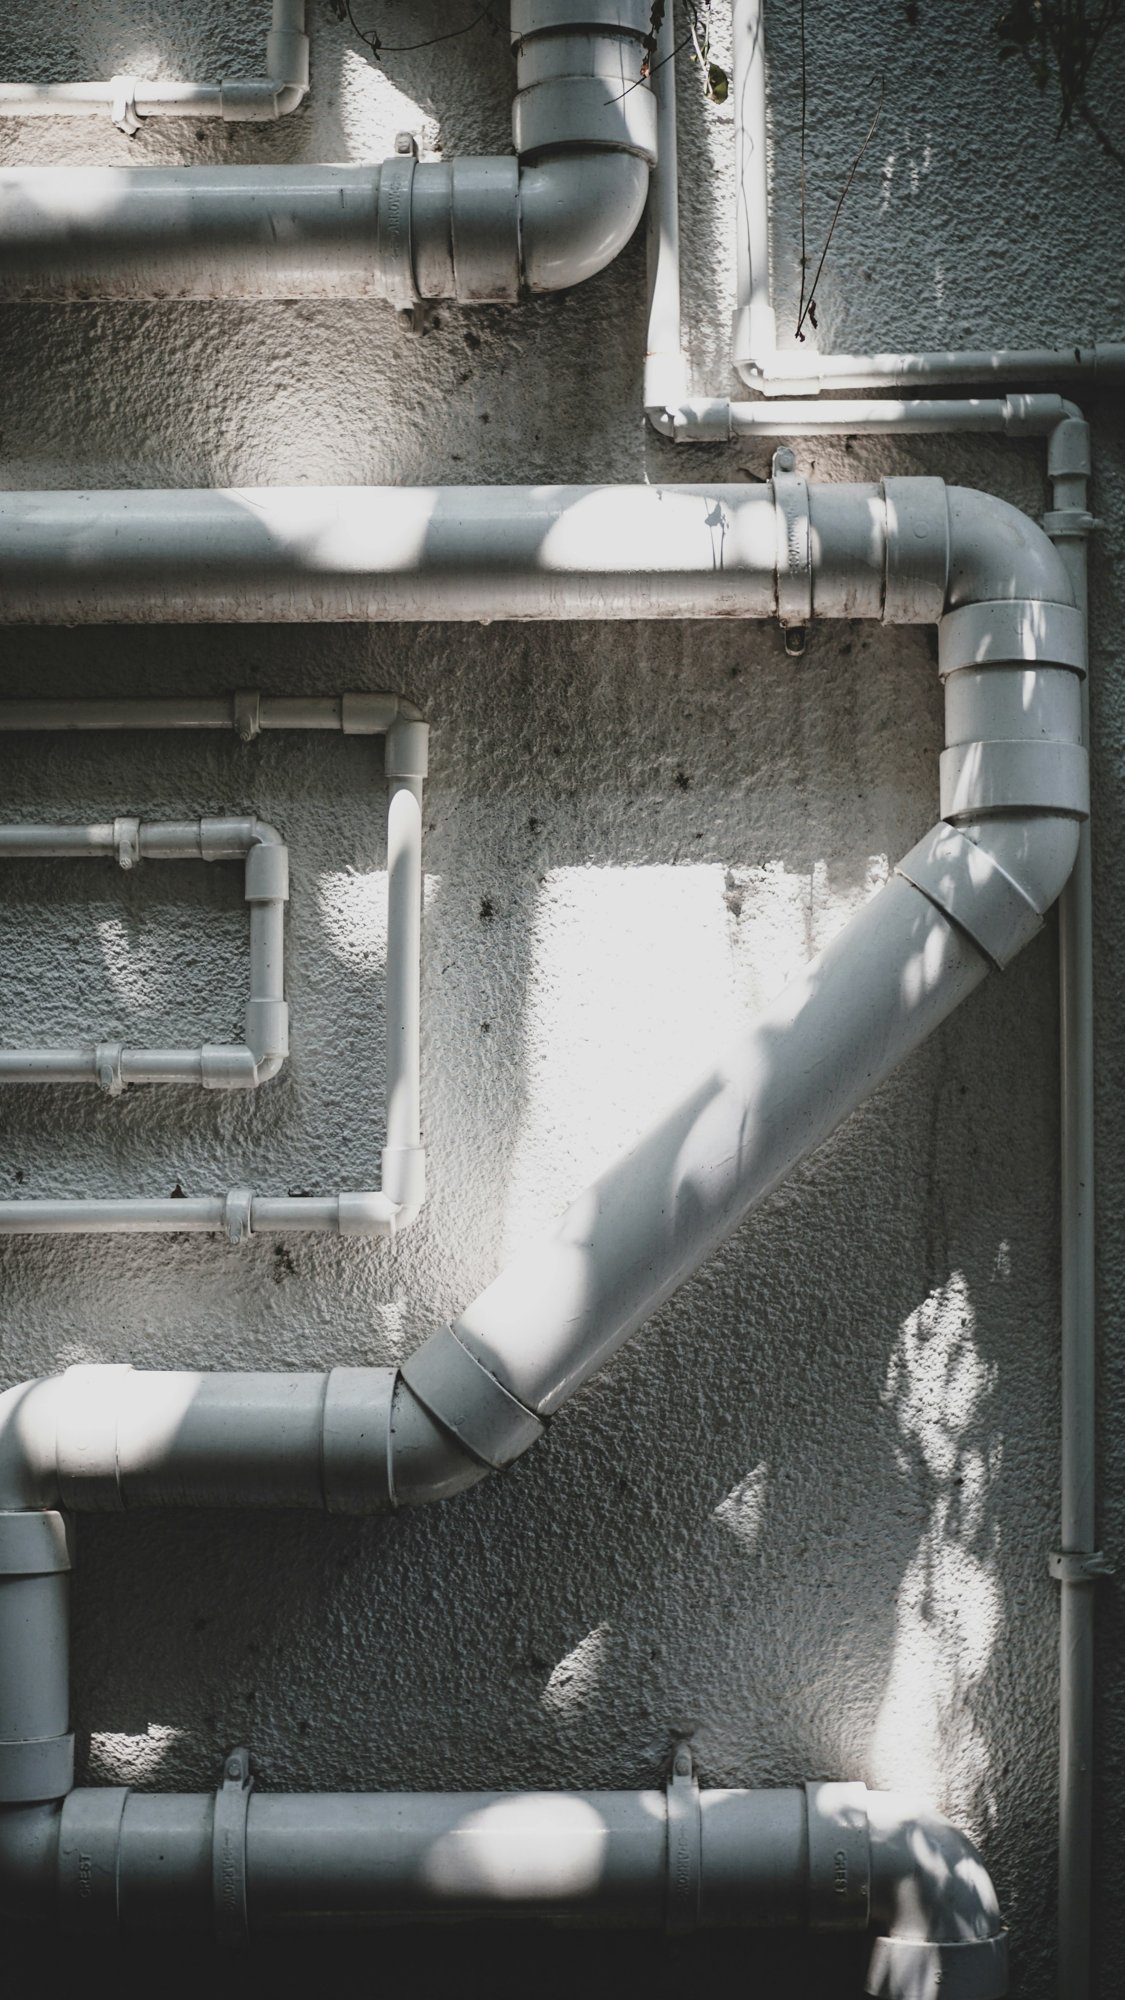
I run into condensate drain problems on remodels and service calls more often than you'd think. A drain line with bad slope can soak drywall, grow mold behind walls, and shut down your cooling system on the hottest day of the year. Here's how I set slope on condensate drain piping, what Boise codes require, and when you should call a pro instead of grabbing your own level.
Key Takeaways
-
Most condensate drains need a minimum downward slope of 1/8 inch for every foot of pipe. Where you have room, 1/4 inch per foot is better.
-
A continuous downward pitch makes sure that water flows away from the HVAC unit. No sags, no bumps, no uphill spots, even for a few inches.
-
Follow the equipment manual first, then local code. Generic rules of thumb are a backup, not a place to start.
-
Use hangers or supports to keep horizontal pipe runs from sagging. The slope is checked after installation, not just before.
-
You can handle re-supporting a sagging drain line, but call an HVAC tech for negative or positive pressure issues, condensate pump installs or backups that keep coming back.
What "Slope" on a Condensate Drain Means
A condensate drain is the gravity piping that carries water from the pan beneath your evaporator coil to a safe discharge point. When your air conditioning unit runs, moisture condenses on the cold coil and drips into the pan. Without proper slope on the drain pipe, that water sits. Standing water in drain lines leads to algae growth, mold and eventually clogs that can cause real water damage.
"Slope," "pitch," and "fall" all mean the same thing here: how many inches of vertical drop you get per foot of horizontal run. An 1/8 inch per foot slope means the pipe drops 0.125 inches every 12 inches horizontally. Condensate drain pipe size is dictated by local code; for most residential systems, condensate drain piping must be at least 3/4 inch in diameter.
Start With the Required Pitch
Before you cut PVC pipe or hang a single support, read the equipment manual for your air handler or mini-split. Different units have different requirements. Some manuals say "minimum 1/8 inch per foot." Others, like the Trane GAF2 series, call for a steeper 1/4 inch per foot. Both must be followed as written.
Boise and the rest of Idaho follow the 2018 IRC and related mechanical codes via IDAPA 24.39.30. The Idaho Mechanical Code adopts the 2018 IMC, which sets a minimum slope of 1/8 inch per foot for condensate drain lines. Code inspectors will check drain slope and discharge location on permitted installs. Using a shallower slope than the manual or code requires can void your warranty and fail inspection, even if water seems to flow during a quick test.
How Much Slope Do You Need?
For most small residential systems, the safe working range is a minimum of 1/8 inch per foot (about a 1% slope) up to 1/4 inch per foot where space allows. Every 12 inches horizontally requires at least 1/8 inch of drop vertically. Short radius 90-degree elbows are often prohibited by manufacturers and code because they restrict flow. Use long-radius fittings or 45-degree bends instead.
A note on terminology: 1% slope, 1:100, and 1/8 inch per foot are close but not identical. A true 1% slope is about 0.12 inch per foot. 1/8 inch per foot is 0.125. Do not round minimums downward.
Worked examples:
| Horizontal Run | Slope | Total Drop Needed |
|---|---|---|
| 12 feet | 1/4 in/ft | 3 inches |
| 12 feet | 1/8 in/ft | 1.5 inches |
| 20 feet | 1/8 in/ft | 2.5 inches |
| 20 feet | 1% (0.12 in/ft) | 2.4 inches |
If your equipment manual specifies a different pitch, use that number instead.
Setting and Checking Slope on a Condensate Drain Line
This is how we physically lay out and check slope when we run a condensate drain in a Boise basement, crawlspace or garage.
-
Shut off power to the unit. Clear the work area. Get a level (one with pitch marks is ideal), a tape measure, and pipe hangers.
-
Mark start and end heights. Measure from a fixed reference (joist bottom or slab) to the condensate outlet on the unit. Then measure where the drain will end: an open drain, a floor drain or an outdoor discharge point.
-
Calculate needed fall. Multiply the horizontal run in feet by your chosen pitch. Example: 16 feet times 0.125 equals 2 inches of total drop. Make sure you have that vertical room.
-
Mark points in between every 3 to 4 feet along the path. Each mark should hit the correct height for that distance from the unit.
-
Set supports and check with a level. Adjust each hanger so a level shows continuous fall along the full length. No low spots, no sags, no upward kinks.
Walk the entire line from coil to where it ends before you cement joints. If you can see or feel a low spot, fix it before the glue sets.
Negative Pressure vs. Positive Pressure Drains (And Why It Matters for Slope)
Condensate drain behavior changes depending on whether the coil pan is under negative pressure or positive pressure. In a typical draw-through air handler, the blower pulls air across the coil, creating vacuum at the pan. That suction can pull air into an un-trapped or poorly sloped drain, creating air blocks that hold water and block flow. Install a P-trap near the evaporator coil to prevent negative pressure issues. Trap depth should match the manufacturer's guidance (often the static pressure in inches of water column plus one inch for safety).
In blow-through setups, the blower is pushing air across the coil first, creating positive pressure at the pan outlet. Here, water and air are getting pushed out, so trap height, slope and discharge point all need to resist blowback.
If your manual references negative or positive pressure and you're unsure which applies, call a qualified HVAC tech. Wrong trap or vent design can ruin even perfect slope.
Supporting, Trapping and Cleaning the Drain Piping
Slope is only as good as the supports holding the pipe in place. Hang or clamp horizontal PVC runs every 4 feet. Sagging between hangers is a hidden barrier to proper drainage and a common cause of return calls.
Secondary drain pans under air handlers installed in an attic or above finished rooms must be at least 1-1/2 inches in height. Those pans usually should not have traps on their drain. The point is to show leaks quickly, not hide water.
Cleanouts are needed for plugged drain pipes. Add clean out fittings or removable caps at the trap, at direction changes and every 10 feet of horizontal run so you can clear algae and debris without cutting piping. Regular inspection and maintenance of condensate lines help prevent clogs and backups. From what I've seen, 9 out of 10 clogged drain lines result from poor maintenance, not bad installation.
Slope Mistakes in Boise Homes
Improper installation can lead to mold growth in homes, and condensate drain lines can cause water damage if they get clogged. Here are the errors I see most often:
-
Overall slope looks right, but sections run uphill. A drain can start high and end low but still have a hump between joists that traps water and creates blockages. Follow the pipe with your eyes and a level, not just the ends.
-
Sagging flexible tubing. Vinyl or small-diameter line hanging down between supports collects gunk even when the average slope is fine. That sag creates a low spot that never fully drains.
-
Too little pitch over long runs. At 1/8 inch per foot, a 30-foot run needs about 3.75 inches of total fall. You might lowball how much drop that needs in tight joist bays.
-
Random extra traps or U-bends you put in yourself. Double traps or unnecessary rises ruin the designed pressure seal, even if net slope looks correct.
-
Wrong discharge location. Ending a condensate drain over a walkway or onto a roof creates ice hazards in Idaho winters and breaks code, regardless of how well the line is sloped.
When to Adjust Your Condensate Drain Slope Yourself
I'm a builder, not selling HVAC service. My honest advice: homeowners can handle re-supporting a sagging drain line, adding hangers or adjusting clamps to restore 1/8 inch per foot slope over a short, accessible run. That work takes less than an hour in most cases.
Call a licensed HVAC tech when there's a condensate pump involved, when several options for routing exist and you're unsure which meets code, when the system has complex pressure arrangements, or when leaks keep coming back. If a slope correction requires cutting into the furnace cabinet, changing trap design or re-routing the drain through new framing, that's where a pro and usually a mechanical permit come into play. For homeowners in Boise and the Treasure Valley: if you can't maintain the recommended downward slope from unit to termination, or you don't know whether your drain is under negative or positive pressure, get professional advice before you commit to a repair.
Condensate Drain Slope Questions
These cover quick, specific questions that didn't fit well into the sections above.
How much slope per foot for a condensate drain?
Most small residential systems work well with a minimum of 1/8 inch for every foot of pipe. A slope of 1/4 inch per foot is fine and often better if you have the vertical room. If the manufacturer calls for a specific pitch, follow that number exactly.
Is 1% slope enough for a condensate drain?
A true 1% slope equals about 0.12 inch per foot, slightly less than 1/8 inch per foot (0.125). It's usually acceptable if the manual lets it. Do not guess it. Too shallow a slope over a long drain line leaves water standing and grows gunk that creates a clogged drain.
Can a condensate drain run uphill?
No. A gravity condensate drain line should never run uphill at any point. Even a small bump acts as a plug that holds water and blocks flow. If water needs to move higher than the unit outlet, a properly sized condensate pump is the right solution. Condensate pumps move water up to a gravity drain line above.
Do I have to redo the slope if I add insulation to the drain pipe?
Adding insulation around the line doesn't change the slope itself, but heavy or poorly supported insulation can cause the pipe to sag over time. Re-check slope after insulating and add supports until there's a continuous downward slope.
How can I tell if my condensate drain slope is causing problems?
Common warning signs: water pooling around the indoor unit, a full or overflowing secondary drain pan, musty smell near the air handler, or a float switch that shuts the system down over and over. If those symptoms keep going after cleaning, the drain line slope and support need closer evaluation. Leave a comment below if you have questions about your setup, or reach out to a local HVAC tech in the Boise community for an on-site look.